
You can clean a motorcycle air filter at home with a few simple steps that save you money and protect your engine. Clean a reusable foam or fabric filter by removing it, gently knocking out loose dirt, washing with a mild cleaner, letting it dry fully, and re-oiling it if required before reinstalling. I’ll show you how to do each step safely and when it’s better to replace the filter instead.
Follow a clear, tool-light process that works for most common filter types. I’ll point out the tools and supplies to use, common mistakes to avoid, and simple checks to know when cleaning won’t help and replacement is the smarter choice.
Key Takeaways
- Clean reusable filters by removing debris, washing, drying completely, and re-oiling if needed.
- Use the right cleaner and light oiling; avoid heat or direct sun for drying.
- Replace the filter if it’s damaged or still clogged after cleaning.
Why Cleaning Your Motorcycle Air Filter Matters
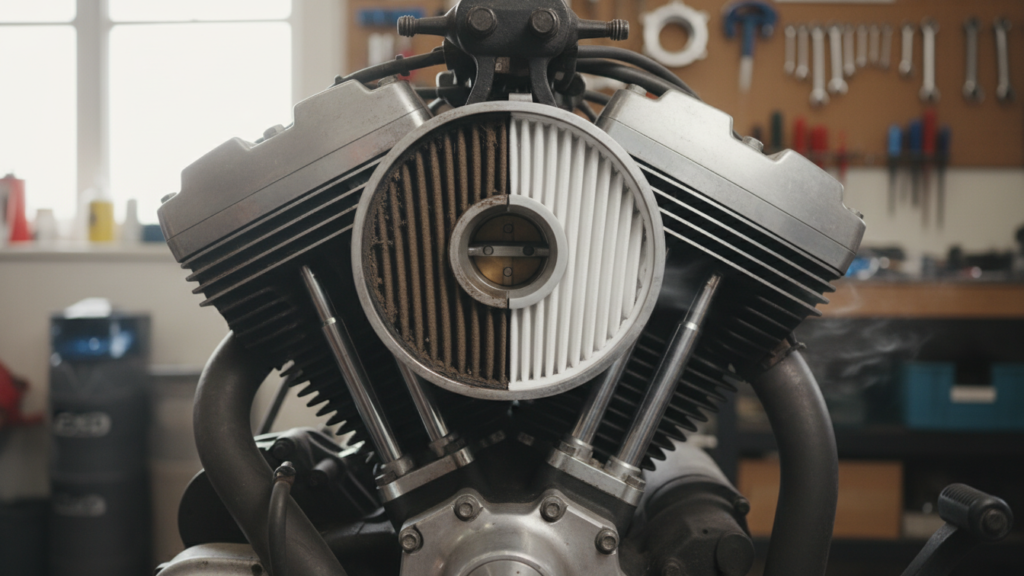
A clean air filter keeps airflow steady, protects internal parts, and helps the engine burn fuel efficiently. I focus on how cleaning affects power delivery, fuel use, and long-term engine health.
Impact on Engine Performance
A clogged air filter reduces the volume of air reaching the combustion chamber. I notice throttle response becomes sluggish when airflow drops. The engine may feel less powerful during acceleration and struggle at higher RPMs.
Restricted air forces the fuel system to run a richer mix or the engine control to compensate, which hurts smoothness. Spark plugs can foul sooner, causing misfires or rough idling. Cleaning restores correct airflow and helps the engine return to its designed power output.
I also pay attention to riding conditions. Dusty or muddy environments clog filters faster, so performance loss shows up sooner on off-road bikes or commuter bikes ridden on dirt roads.
Effects on Fuel Efficiency
When air is restricted, the engine often runs a richer fuel-to-air ratio. I see increased fuel consumption in that state. Even a small drop in airflow can raise fuel use enough to be noticeable over a month of riding.
Cleaning the filter often reduces fuel burn because the engine breathes better and burns fuel more completely. That improvement is most clear on carbureted motorcycles, where mixtures are less adaptive than fuel-injected systems. For fuel-injected bikes, the effect is still present but smaller since sensors can partly compensate.
I track fuel economy by noting average miles per gallon before and after cleaning. Many riders find a measurable gain after restoring proper airflow.
Preventing Engine Damage
The air filter’s primary job is to stop dirt, grit, and debris from entering the engine. I have seen engines wear prematurely when filters are ignored. Abrasive particles circulating inside the engine cause cylinder wall and piston ring wear, which reduces compression and leads to costly repairs.
A saturated or damaged filter can tear or allow bypass, letting larger particles in. Regular cleaning and proper re-oiling (for foam filters) keeps filtration effective. I recommend inspecting the filter housing and sealing surfaces too, because leaks around the filter let unfiltered air in even with a clean element.
Types of Motorcycle Air Filters
I’ll explain the most common filter types, how they trap dirt, and what that means for cleaning and replacement. Each type needs different care, and the right choice affects airflow, engine life, and maintenance time.
Foam Air Filters
Foam filters use open-cell foam to trap dirt while keeping good airflow. I find they work best for off-road and dirt bikes because the foam can hold more oil and capture large particles. They usually require washing, drying, and re-oiling after cleaning to restore their dust-trapping ability.
Cleaning steps I use: remove loose dirt, wash with warm water and mild soap or a filter cleaner, squeeze—don’t wring—to remove water, then let it dry fully. I apply a thin, even coat of filter oil designed for foam filters. Over-oiling blocks airflow; under-oiling reduces filtration. For more on foam-filter care, see manufacturer guides like K&N’s cleaning instructions.
Paper Air Filters
Paper filters are common on street bikes and are usually disposable. They trap fine particles well but resist washing; cleaning often damages the pleats. I replace paper filters at recommended intervals or when they look clogged.
To check a paper filter, hold it up to light; if light doesn’t pass through evenly, it needs replacing. When replacing, use the exact OEM or high-quality aftermarket part to preserve fit and seal. Paper filters are low-maintenance but cost more over time if you replace them frequently.
Cotton Gauze Air Filters
Cotton gauze filters are layered cotton with oil and a metal mesh for support. I use these when I want better airflow and reusability, typical of performance upgrades. They offer good filtration and can be cleaned, re-oiled, and reused multiple times.
Cleaning involves a specialty cleaner, thorough rinsing, drying, and re-oiling with the product recommended by the filter maker. Improper cleaning or wrong oil will hurt performance, so I follow instructions from sources like the filter manufacturer or reputable shops (for example, the OEM or a trusted aftermarket brand).
Tools and Materials Needed

I list the exact tools and products I use to clean foam and oiled cotton motorcycle air filters. I also note the safety gear and small items that make the job easier and cleaner.
Essential Cleaning Tools
- Screwdrivers or sockets: I bring the right size to remove the seat, tank, or airbox cover without stripping bolts.
- Soft-bristle brush: I use this to loosen heavy dust and grime without tearing the filter media.
- Plastic scraper or old credit card: I gently remove stuck mud or thick debris from the filter frame.
- Two clean buckets: One for the cleaning solution, one for rinse water to avoid recontamination.
- Compressed air (optional): I blow air from the clean side outward at low pressure to remove loose dust; I keep pressure under 30 psi to avoid damage.
- Lint-free towels: I pat the filter dry and wipe the airbox and sealing surfaces.
I keep all tools within reach so the work flows and I don’t risk dropping parts into the filter area.
Recommended Cleaning Products
- Foam filter cleaner or mild dish soap: For foam filters I prefer a dedicated foam cleaner or a small amount of dish soap. Both break down old oil and grime.
- Air filter cleaner for oiled cotton: I use a brand made for oiled cotton filters to dissolve old oil without harming the fibers.
- Air filter oil (foam or cotton-specific): I always use oil formulated for my filter type and apply it evenly—no substitutes.
- Warm water: I use warm, not hot, water to help lift oil and dirt.
- Disposable gloves and a small brush: I wear nitrile gloves and use a soft applicator brush when re-oiling to ensure even coverage.
I avoid solvents like gasoline or brake cleaner because they can ruin filter media and seals.
Safety Precautions
- Work in a well-ventilated area: I clean with the bike in an open garage or outside to avoid inhaling fumes from cleaners and oil.
- Wear gloves and eye protection: Gloves protect my skin from oils and cleaners; goggles keep splashes out of my eyes.
- Let the filter dry fully: I do not re-install a damp or oily-cold filter. Moisture traps dirt and can cause engine damage.
- Keep cleaners away from flames: Filter oil and some cleaners are flammable; I store and use them away from heat sources.
- Use proper disposal: I collect used cleaning fluid and oily rags in a sealed container and dispose of them per local hazardous-waste rules.
I take these precautions every time to protect myself and to keep the filter and engine safe.
How to Remove the Air Filter
I will show where the air filter sits, what tools I use, and how I unplug or move parts so I can take the filter out without breaking anything.
Locating the Air Filter
I first park the bike on level ground and let the engine cool for at least 10–15 minutes.
Most street bikes hide the air filter under the seat or a side panel; dirt bikes often have an airbox behind the tank. I check the owner’s manual to confirm the exact location.
I remove the seat or side panel using the correct tool — usually a Phillips, hex key, or socket. I keep all fasteners in a small tray so none get lost.
When the cover is off, I look for the airbox; it’s a plastic or metal housing with clips or screws. The filter usually sits inside the box and is held by a frame or rubber lip. I inspect the box for heavy debris before I pull the filter out.
Disconnecting Components
I always disconnect the battery negative terminal if I need to remove electrical parts near the airbox. This prevents accidental shorts while I work.
I unclip or unscrew the airbox cover next. I use a soft tool for clips and a proper-size screwdriver for screws to avoid stripping them. If the intake snorkel or a breather hose blocks access, I loosen its clamp with a screwdriver and gently pull it off.
I support the airbox with one hand while I free the filter with the other. If the filter is tight, I wiggle it slowly rather than force it. I note the filter’s orientation so I can reinstall it the same way.
Step-by-Step Air Filter Cleaning Process
I show how to check the filter, choose the right cleaning method, and re-oil or dry it if needed. Follow each step and use the right cleaner, tools, and oil for your filter type.
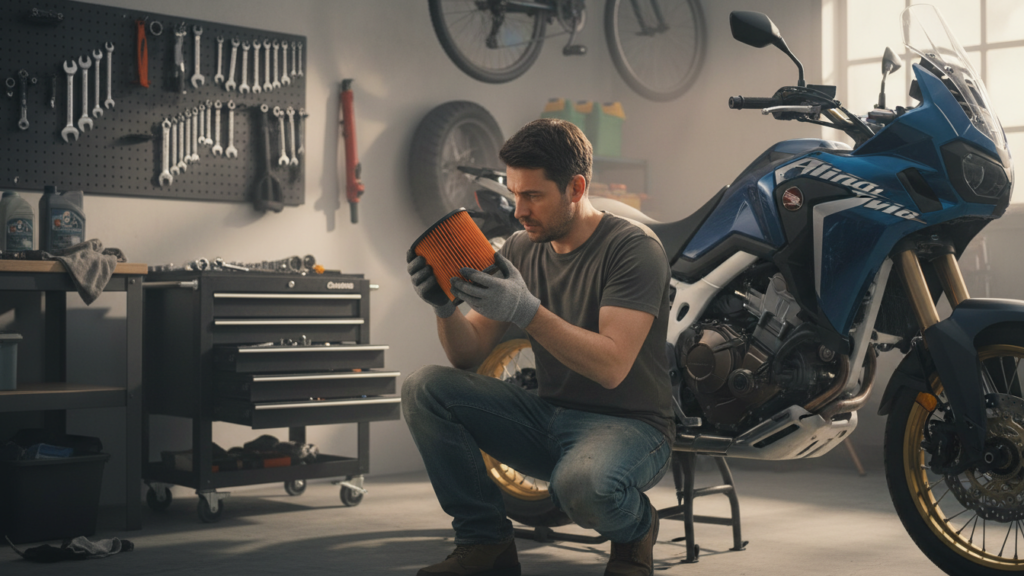
Inspecting the Air Filter
I remove the seat or tank to access the airbox. I look for tears, heavy oil buildup, or hard-packed dirt that won’t come out with light tapping.
I hold the filter up to light. If I cannot see light through the filter media, it needs cleaning or replacement. Small holes or crumbling edges mean replace it.
I note the filter type and any manufacturer markings. That tells me whether to use detergent, filter cleaner, or just compressed air. I also check the airbox and sealing surfaces for leftover debris or oil.
Cleaning Foam Air Filters
I start by tapping the filter gently to remove loose dirt. I then squeeze a mild degreaser or foam-specific cleaner through the foam — do not twist or stretch it.
I rinse with warm water from the clean side out until water runs clear. I gently squeeze the foam to remove excess water, repeating until it looks clean.
After drying partially, I apply foam filter oil evenly by hand or with a spray. I work the oil into the foam until it’s tacky but not dripping. Then I reinstall, ensuring the filter seals to the airbox.
Cleaning Paper Air Filters
I tap the paper filter lightly to dislodge loose dust. I never use water or oil on paper filters; those can destroy the media.
If the paper filter is lightly dirty, I use compressed air from the clean side out at low pressure. Keep the nozzle several inches away and sweep across the surface to avoid damage.
If the paper media shows dark wet spots, holes, or does not clean with air, I replace it. Paper filters are cheap compared to engine damage from a compromised seal.
Cleaning Cotton Gauze Air Filters
I remove excess dirt by tapping the filter gently and brushing with a soft brush. I then apply a dedicated cotton filter cleaner, saturating the gauze on both sides.
I let the cleaner soak for the time the product recommends, usually 10–15 minutes. I rinse with low-pressure water from the clean side out until the rinse water runs clear.
I let the filter air dry completely. Then I apply filter oil in light, even passes across the folds, allowing oil to wick into the gauze. I reinstall the filter and check the seal around the airbox to prevent unfiltered air entry.
Drying and Re-Oiling the Air Filter
I let the filter dry fully and then re-oil it carefully to restore proper filtration and airflow. Drying must remove all moisture; oiling must cover the foam or cotton evenly without over-saturating.
Proper Drying Techniques
I pat excess solvent away with a clean cloth, then shake the filter gently to remove trapped liquid. I never use heat sources like a hair dryer or direct sunlight that can warp foam or break down the filter media.
I set the filter on a clean, raised surface in a well-ventilated area and allow 12–24 hours to air dry, depending on thickness and weather. For faster drying, I place it near moving air—not heat—or use a fan to circulate air around the filter. I check for any lingering damp spots by pressing lightly; no moisture should transfer to my fingers.
If the filter smells strongly of cleaner after 24 hours, I extend drying time. For cotton filters, I follow the maker’s recommended drying times found on sites like K&N or Twin Air to avoid leaving solvent that can thin the oil later (https://www.knfilters.com).
Applying Filter Oil
I choose oil made for my filter type: foam oil for foam filters, aerosol or pump oil for cotton gauze. I wear nitrile gloves to avoid skin contact and ruin the oiling pattern.
I apply oil in small, even amounts. For foam filters, I squeeze a thin bead of foam oil into the folds and massage it through the foam until the color looks uniform. For cotton filters, I spray or drop oil onto the outer and inner pleats, keeping the filter rotating so oil spreads evenly. I avoid soaking any single spot; excess oil can flood the engine or clog the MAF sensor.
After oiling, I let the filter sit 12–24 hours so the thinning agents evaporate and the oil wicks into pores. I wipe off any visible drips and use a re-oiling guide or calculator when available to match the amount of oil to filter size and type.
Reinstalling the Air Filter
I check the filter seal and mounting area for dirt, damage, or misalignment before I put the filter back in. I make sure the filter sits flush and that clamps, screws, and gaskets line up for a tight seal.
Fit and Placement
I position the filter so the rubber lip or flange seats fully into the airbox groove. If the filter has an orientation mark, I align it with the intake opening. For foam filters I lightly oiled, I avoid excess oil on the sealing surface; for dry or paper filters, I ensure the paper pleats face the airflow direction.
I press evenly around the filter edge to prevent gaps. If the filter uses a pre-filter sock or foam sleeve, I fit that over the element and tuck any loose edges into the housing. I spin the filter slightly while seating it to confirm a snug fit without bending or tearing the element.
Reassembling Components
I reinstall the airbox cover, aligning tabs and dowel pins before tightening fasteners. I tighten screws and clamps to the torque in the manual when specified; otherwise I make them snug without over-torquing to avoid cracking plastic parts.
I reconnect any intake hoses, vacuum lines, or sensors that I removed. I double-check clamps and hose clips for secure placement and look for gaps at connection points. Finally, I start the engine and listen for air leaks or odd sounds, then recheck fasteners after a short ride.
When to Replace Instead of Clean
I inspect the filter for damage before I decide to clean it. If the foam is torn, the paper pleats are crushed, or the rubber seals are cracked, cleaning won’t fix those issues. Replace the filter right away when I see physical damage.
I consider age and mileage next. Many manufacturers suggest replacing paper filters about every 10,000 miles or once a year, and I follow that guidance for hard-to-clean types. If the filter looks brittle or overly dark even after a gentle tap, I swap it out.
I check contamination levels closely. Oil, fuel, or heavy grime that soaks into the media often means cleaning won’t restore performance. In that case, I throw the filter away and fit a new one.
I use a table to decide quickly:
| Problem seen | Action I take |
|---|---|
| Tears, holes, broken foam | Replace |
| Heavy oil/fuel contamination | Replace |
| Crushed or misshapen pleats | Replace |
| Light dust, intact media | Clean (if washable) |
I also follow the filter type rules. Paper filters usually get replaced rather than cleaned. Foam and some cotton filters can be cleaned and re-oiled, but only if they are still structurally sound.
Maintenance Tips for Longer Filter Life
Keep the filter clean, dry, and oiled to keep airflow steady and protect the engine. I focus on timing cleanings, storing spare filters right, and spotting damage early so a filter lasts as long as possible.
Recommended Cleaning Intervals
I clean foam or cotton filters every 3,000–6,000 miles on street bikes, and after every hard off-road day or muddy ride. For paper or disposable filters, I inspect them at the same intervals but only replace them when they show heavy clogging or damage.
If I ride in dusty conditions, I shorten intervals to every 1,000–2,000 miles. I also check after long highway trips where insects and debris can build up. When in doubt, I remove the filter and hold it up to light; if light barely passes through, it needs cleaning or replacement.
Proper Storage
I store spare and cleaned filters in a dry, dust-free container or sealed plastic bag. I avoid folding or compressing the filter medium to prevent permanent shape damage.
For oiled filters, I let them sit upright on a clean surface for at least 30 minutes to let excess oil settle before sealing. I label storage bags with the date and bike model so I use the oldest or correct item first. I never store filters near solvents, fuels, or extreme heat.
Signs of Excessive Wear
I watch for tears, crushed pleats, or a hardened, brittle feel in foam filters. These physical defects reduce filtration and let dirt reach the engine.
I also note fuel or oil smell from the intake, reduced throttle response, or increased fuel use — these can point to a saturated or failing filter. If I see oil darkened beyond normal or holes in the mesh, I replace the filter immediately rather than attempt another cleaning.
Common Mistakes to Avoid
I sometimes see riders skip cleaning until the filter looks very dirty. Waiting too long reduces airflow and hurts engine performance. I check my filter on a regular schedule instead.
I avoid using harsh cleaners or solvents on foam or gauze filters. These can damage the filter material and remove necessary oils. I use products made for air filters or mild soap and water for washable types.
I never re-oil a filter too heavily. Too much oil clogs the filter and can foul sensors or reduce airflow. I apply a light, even coat and let it soak in before wiping excess.
I make sure the filter dries completely before reinstalling. Installing a damp filter traps dirt and can promote mold. I air-dry in the shade and avoid heat sources.
I always inspect seals and the airbox when I clean the filter. A damaged seal or misfit lets unfiltered air in. I replace worn seals and seat the filter firmly.
I don’t use compressed air to clean foam or paper filters. High-pressure air can tear the material. I gently tap or wash washable filters, and replace paper filters when clogged.
Common mistakes to avoid at a glance:
- Neglecting regular checks
- Using harsh chemicals
- Over-oiling the filter
- Reinstalling while wet
- Ignoring seals and fitment
- Blasting with compressed air
FAQs
Can I use household solvents or compressed air?
I do not recommend harsh solvents or blasting with compressed air. Use a filter cleaner made for foam or paper filters and gently rinse with low-pressure water. Compressed air can damage the filter media and push dirt deeper.
When should I replace the filter instead of cleaning it?
I replace filters that show tears, hardened oil, or severe clogging. Paper filters often need replacement rather than cleaning. Foam filters can be reused if they hold up and clean well.
How do I oil a foam filter and how much oil is enough?
I apply filter oil evenly and squeeze or tap out excess—don’t drip it. The filter should be tacky to touch, not dripping. Too much oil can reduce airflow and foul sensors.
Can I ride right after cleaning and oiling?
I let the filter dry fully before reinstalling. Riding with a wet or excessively oiled filter can damage the engine or reduce performance. I wait until it feels tacky and dry to the touch
Do different bikes need different methods?
Yes. I check the owner’s manual for specific guidance and use products suited to the filter type. When in doubt, follow the maker’s recommendations.
Conclusion
I cleaned the filter carefully, followed the steps, and checked for damage before reinstalling it. Small efforts pay off: the engine breathes better and fuel use can improve.
I recommend a gentle wash and full air drying for foam or washable filters. For paper filters, I replace them when they look clogged or damaged.
I keep a simple kit ready: gloves, mild soap or filter cleaner, oil if needed, and a clean work area. A quick check every few rides or every service interval keeps problems small.
If the filter is torn or heavily soiled, I don’t try to salvage it. Replacing it is safer and cheaper than fixing an engine.
Bold steps to remember:
- Inspect before cleaning.
- Clean gently; dry completely.
- Re-oil only if the filter needs it.
- Replace when damaged.
I stick to the owner’s manual for intervals and specific products. Doing this keeps the bike running smoothly and helps prevent bigger repairs later.